
1. Slide the toggle to Cable / Wired mode and plug in the power cable to your keyboard.
2. Download the keyboard firmware.
3. Download the QMK Toolbox. (If the download link below does not work, use this link: https://github.com/qmk/qmk_toolbox/releases)
4. Unplug the cable from the keyboard.
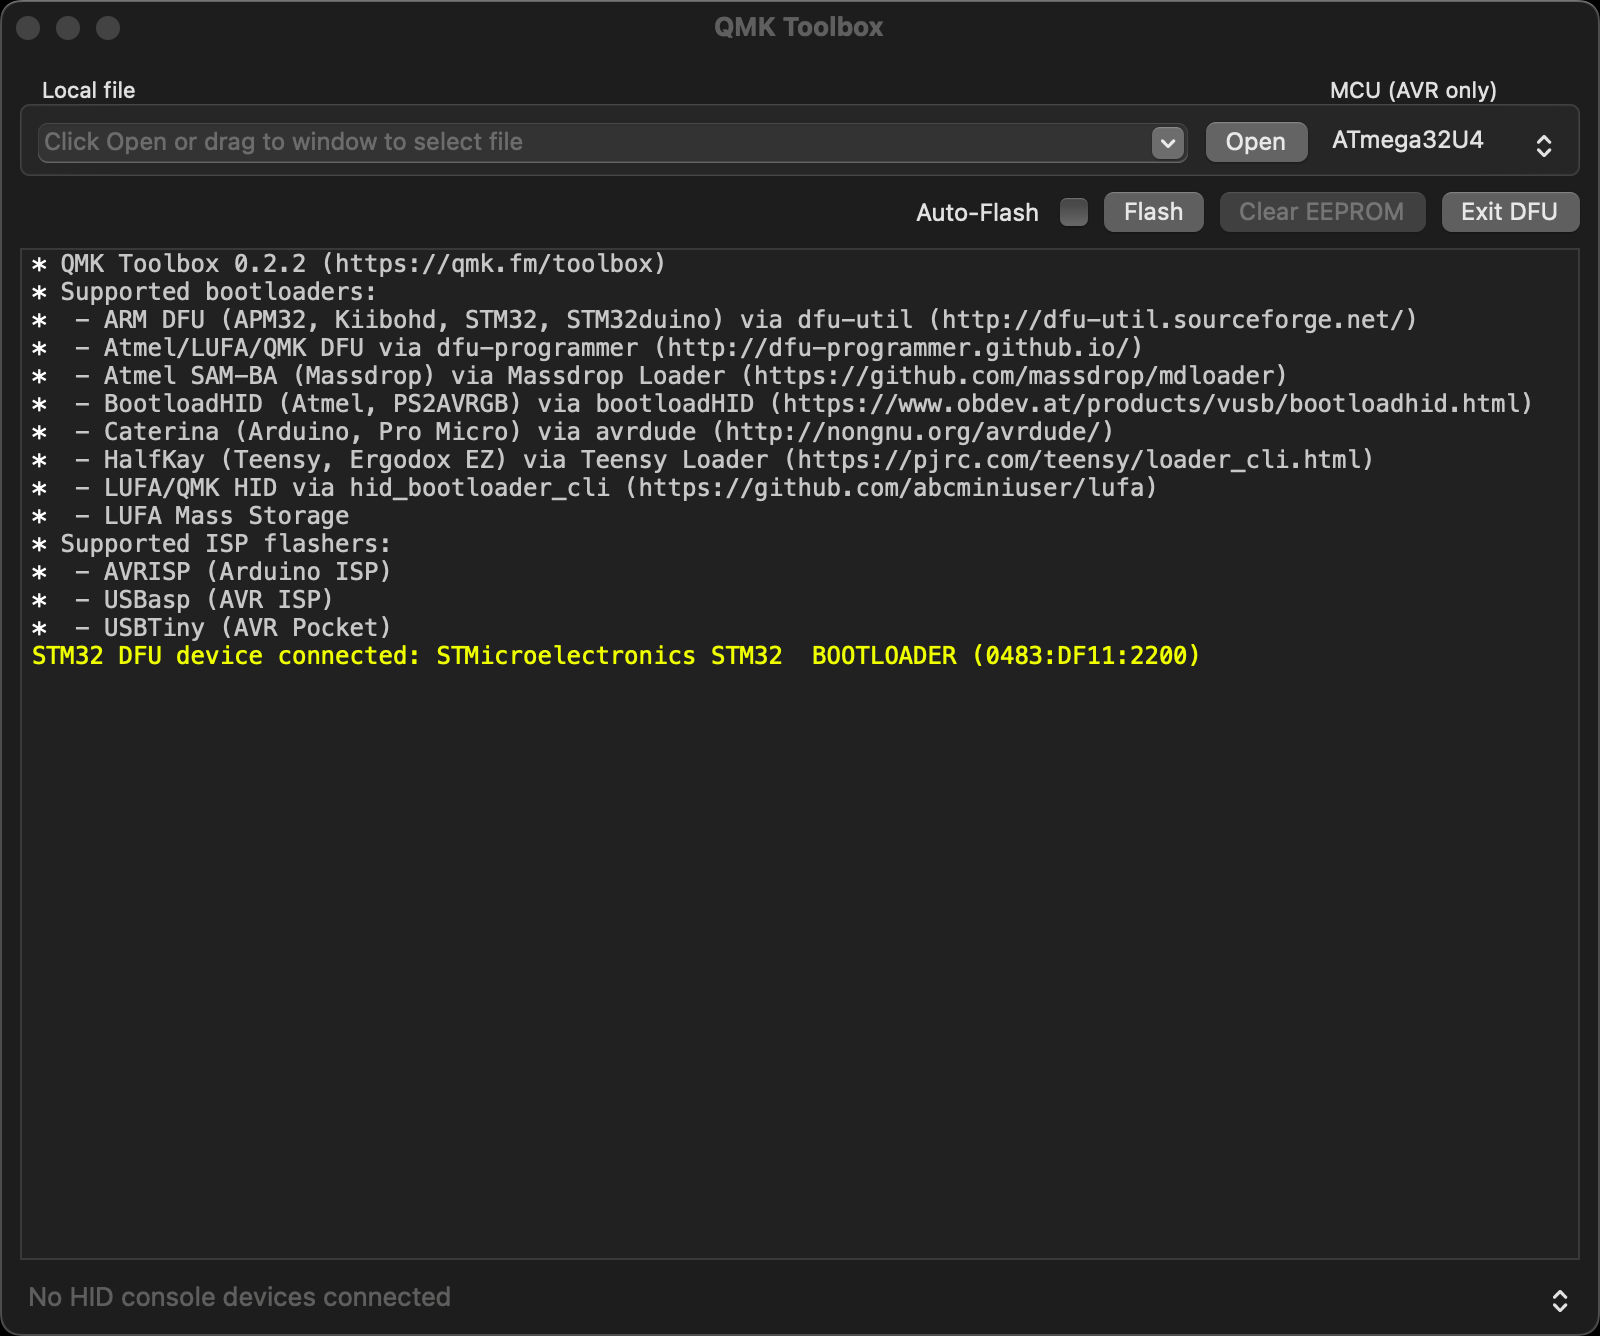
5. Open the QMK Toolbox.
6. Remove the space bar keycap to find the reset button on the left side of the space bar switch on the PCB.
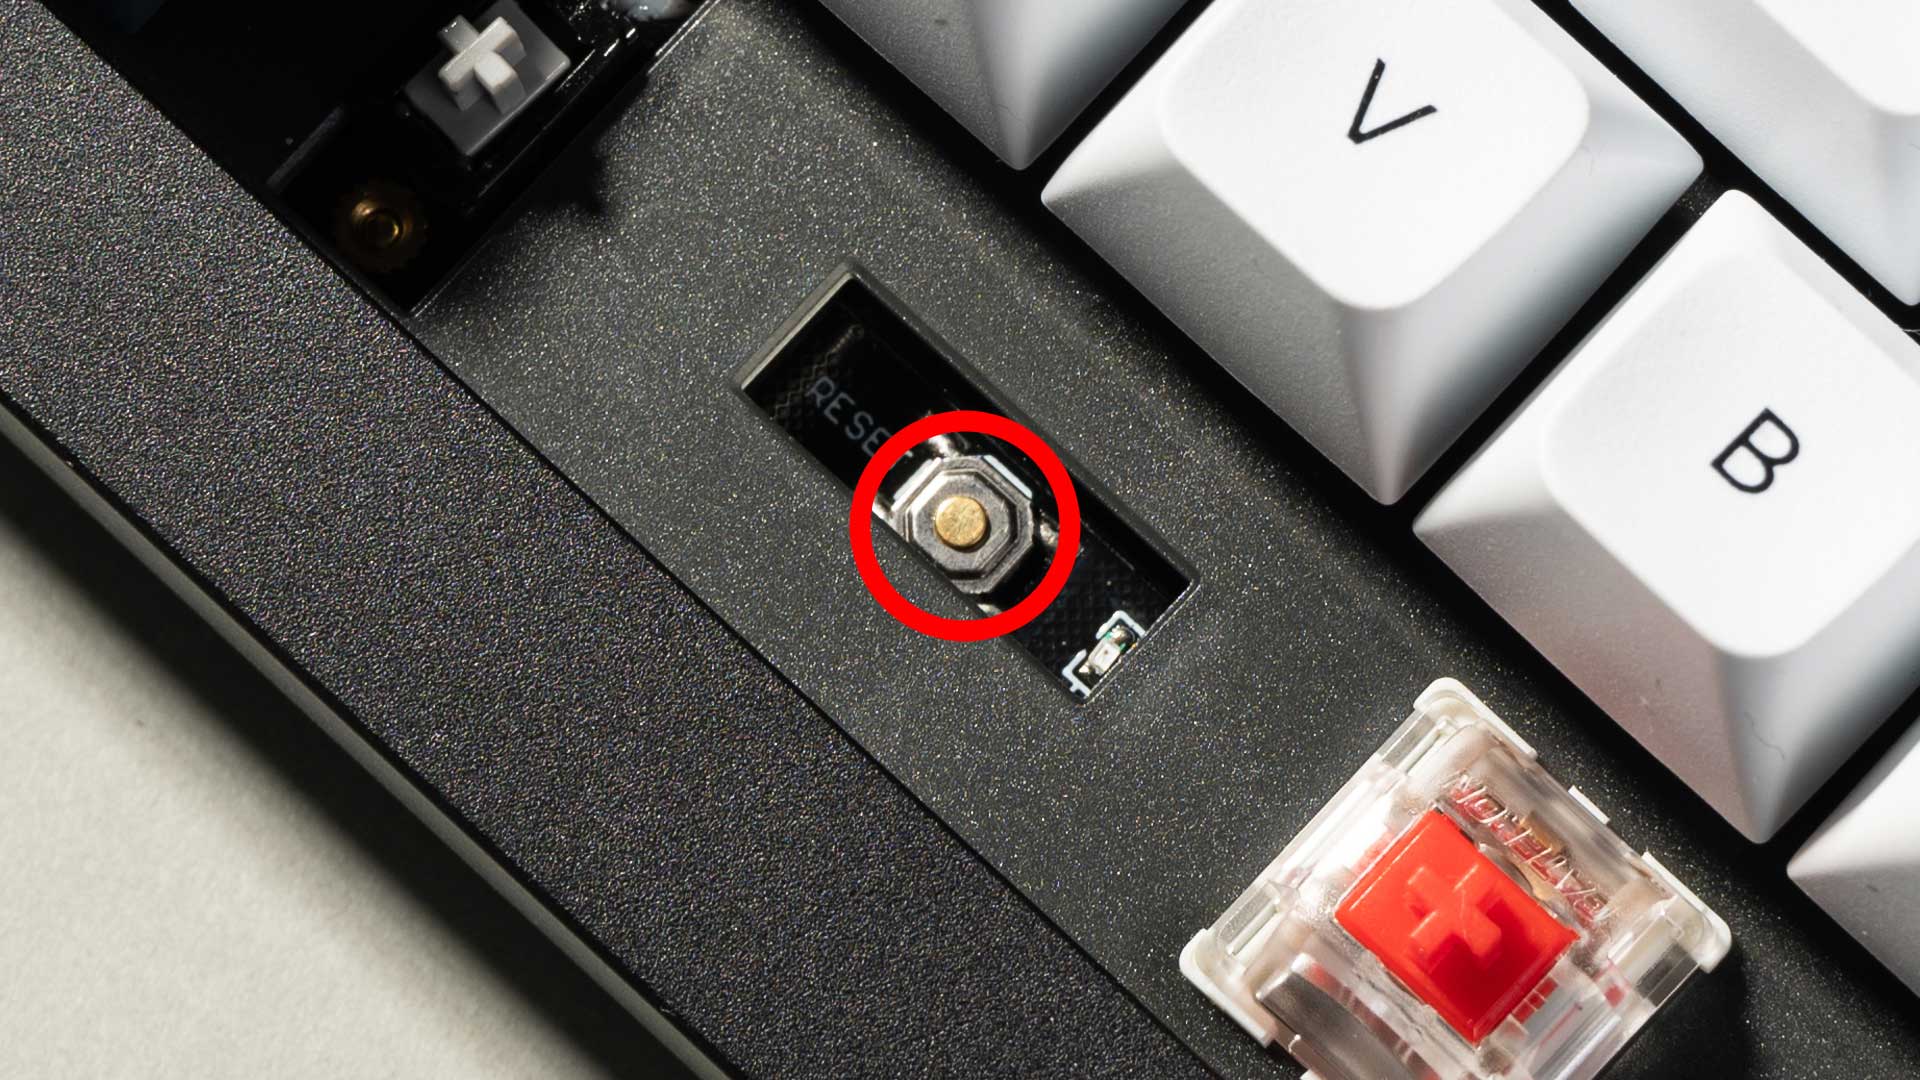
7. Press and hold the reset button, and plug in the power cable simultaneously. Do not release the reset button till the QMK Toolbox display in yellow words "***DFU device connected". This indicates that your keyboard has entered into DFU mode.
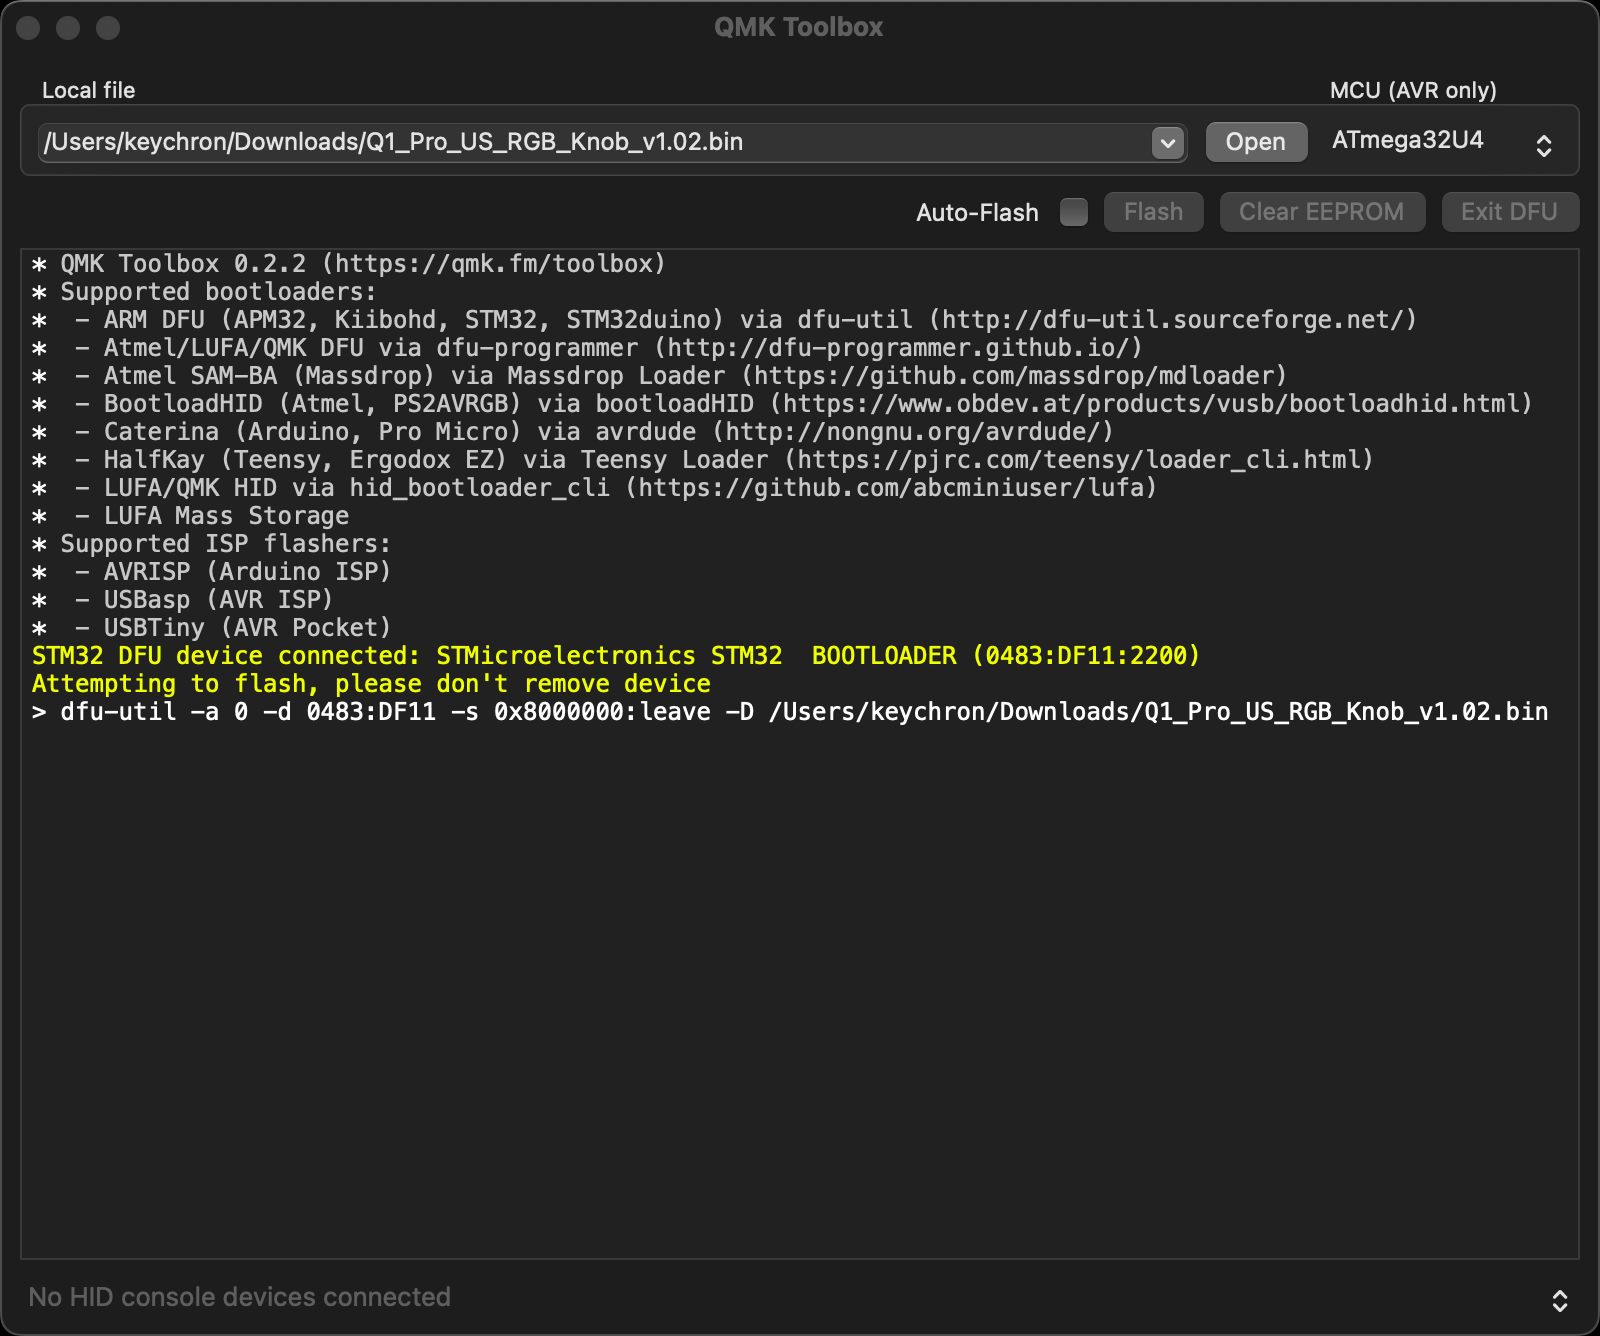
8. Click open and choose the firmware. Click the Flash button. It will start flashing. (Note: Do NOT unplug the power cable while it's flashing.)
9. Wait a few seconds and when you see the content below, it means the keyboard has flashed successfully factory reset. 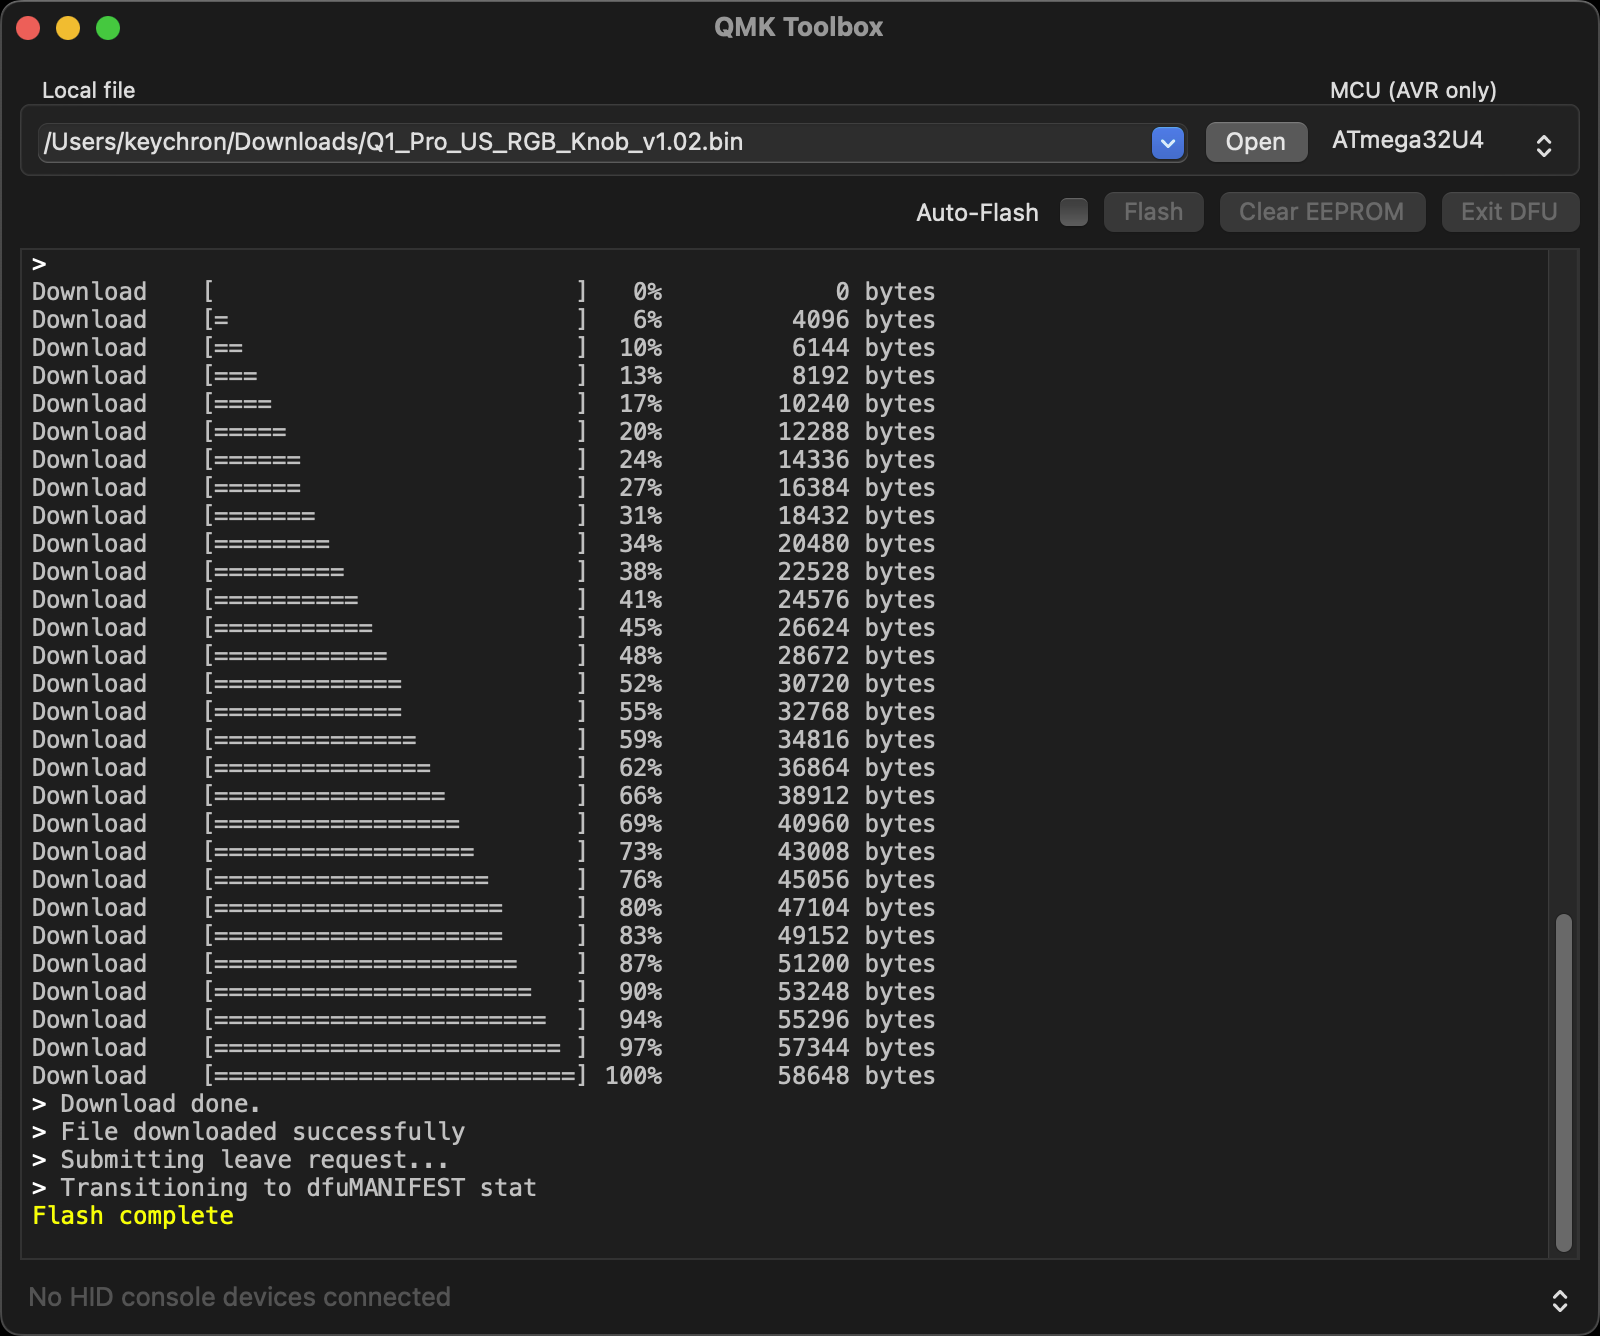
10. Factory reset the keyboard. Press and hold Fn + J + Z (for 4 seconds). The keyboard backlight will flash red quickly for three seconds, indicating that your keyboard has been reset.
If VIA can't pair with your Keychron QMK keyboard after you tried flashing, you need to follow these steps:
1. Reconnect your keyboard power cable.
2. If VIA still doesn’t pair together after you reconnect the power cable, download the keymap JSON file (see above on this page).
3. Open online VIA.
Step 1: Turn on "Show Design tab" on the "SETTINGS" tab.
Step 2: Click on the "Design" tab, then click on "Confirm".
Step 3: Drag the JSON file into the “Design” tab on the VIA.
Step 4: A window will pop out after you drag the JSON file. Please click on your keyboard model and then click on "Connect".
4. VIA should pair with the keyboard now.